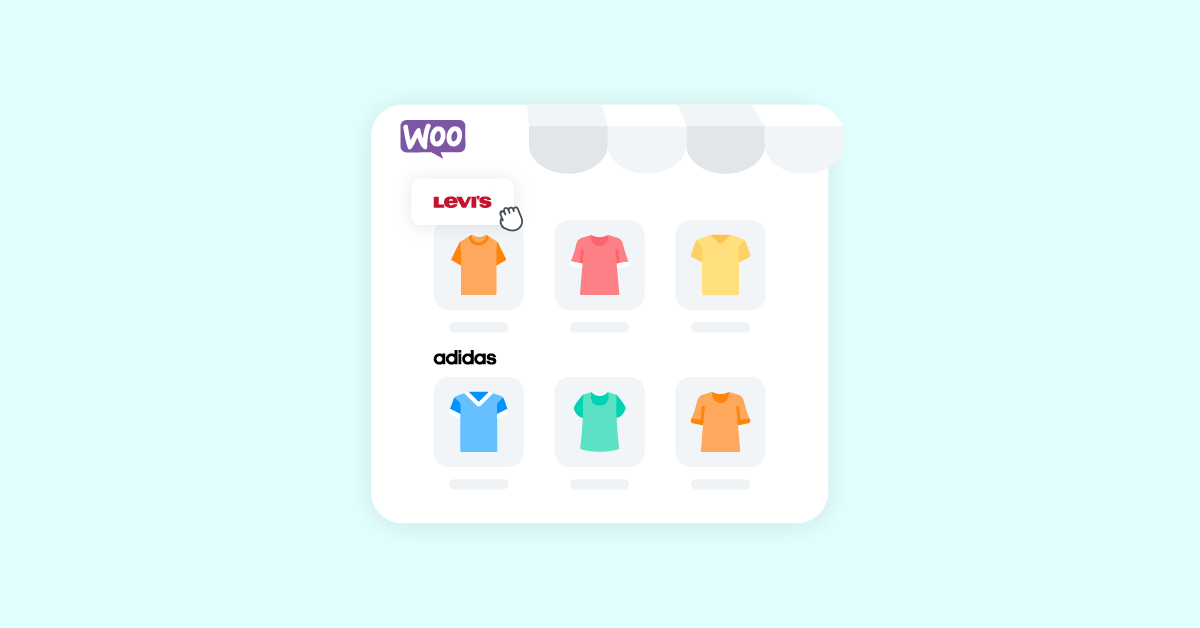
Do you want to create brands for your WooCommerce store? We have got you covered if you are looking for a step-by-step guide. Keep reading this article, and you will learn how to create brands in WooCommerce successfully!
After installing WooCommerce and listing your products, you should experiment with multiple strategies to increase sales and conversion rates to your online store.
In our experience, including brands in the WooCommerce store can boost your sales and product viewability. And that’s why, in this article, we will show you how to create brands for your WooCommerce store in 2023!
But first, let’s learn what brands are and how creating brands in WooCommerce can be helpful.
Table of Contents
Why Create Brands in WooCommerce?
When some people shop for products online, they prefer getting stuff from a specific brand.
Let us explain.
When customers need to purchase something online, they will either go for a general term or search for a trustworthy brand’s products. For example, let’s say you need to buy a new laptop.
You could search for laptops or gaming laptops to find the available options. The search result will show you every option available in the online store from every brand.
On the other hand, if you are into a specific brand, you will search for brand-name laptops or brand-name gaming laptops. This will help you filter products only from a particular brand and help you find the right products with minimal effort.
As an online store owner, providing filtering options based on brands is crucial. A lot of online stores are doing this already. Here’s an example:

As you can see in the screenshot, the eCommerce store displayed custom brands in the front end so users can easily find products from particular brands.
This way, you could boost the user experience and bring more sales.
Now you know how creating brands in your online store will help you. Next, let’s see how to make them.
How to Create Brands for Your WooCommerce Store?
This section will show you how to create brands for your WooCommerce store. The first thing you need to do is log in to your WooCommerce installation.
To help you with the process, we will use the WooCommerce Brands plugin (more on this plugin later). It is a premium plugin; you could get it for $39/year.
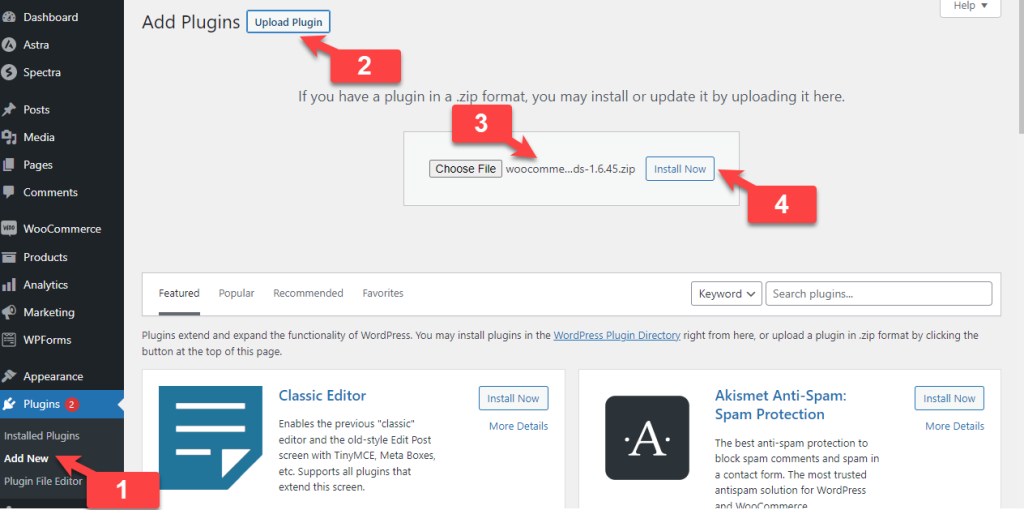
Once you have purchased the WooCommerce Brands plugin, you must install it on your store. To do this, go to Plugins > Add New.
Now, upload the WooCommerce Brand plugin file there and install it.
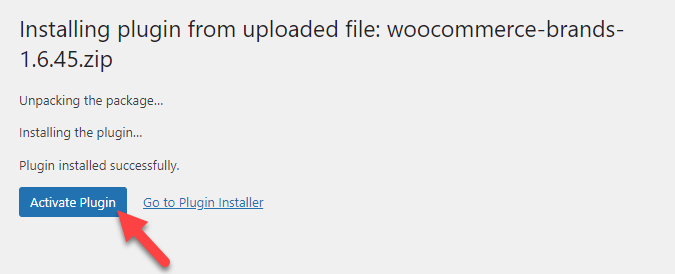
Once you have completed the installation, activate the plugin.
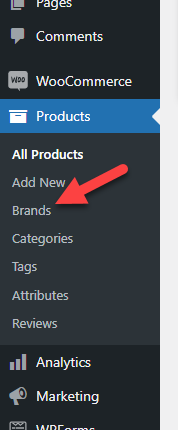
After activation, you can see the plugin’s settings under the Products tab.
Let’s take a closer look at the customization options.
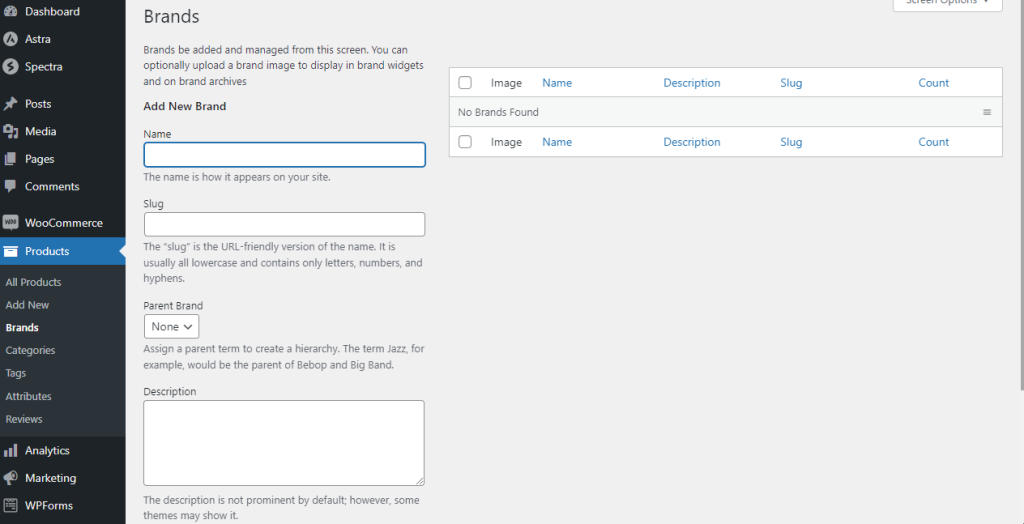
As you can see above, the tool comes with easy customization options. On the left-hand side, you can see
- Brand name
- Slug
- Parent brand
- Description
- Thumbnail
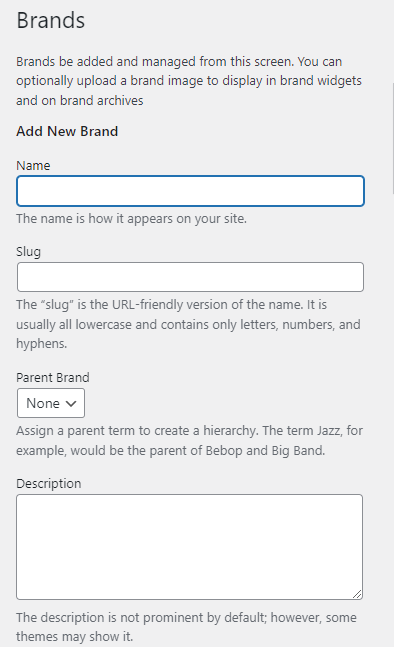
The right-hand side of the tool will display all the brands you have created.

Right now, we do not have any brands to display. Let’s fix it. Once you have filled in every detail, click on Add New Brand.
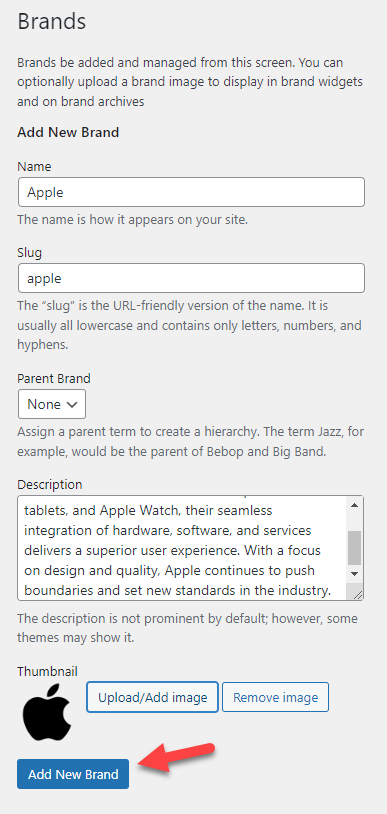
Once you have done that, it will be available on the right-hand side.
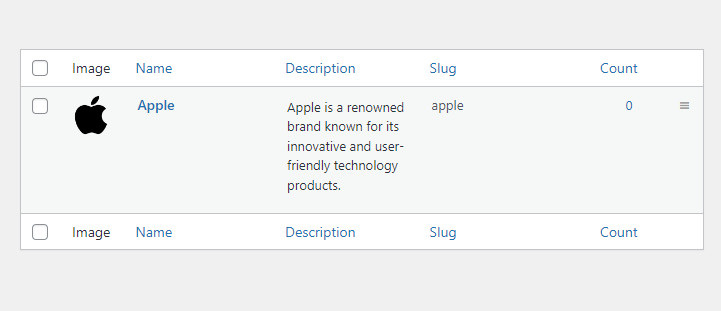
Similarly, list every brand you would like.
On our dummy website, we have listed five popular electronics brands.
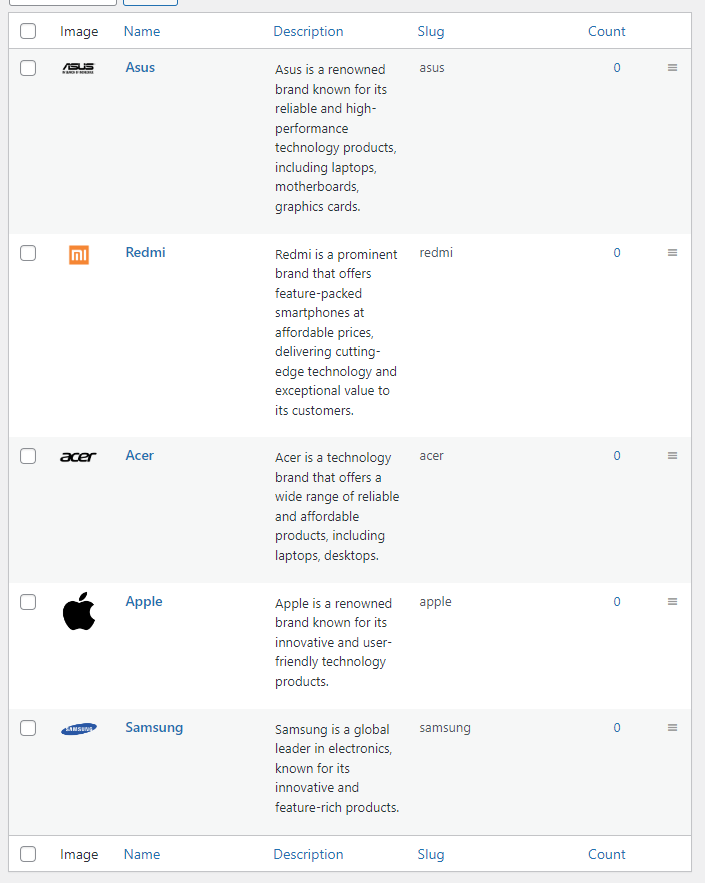
If you need to tweak any brands, use the edit option.
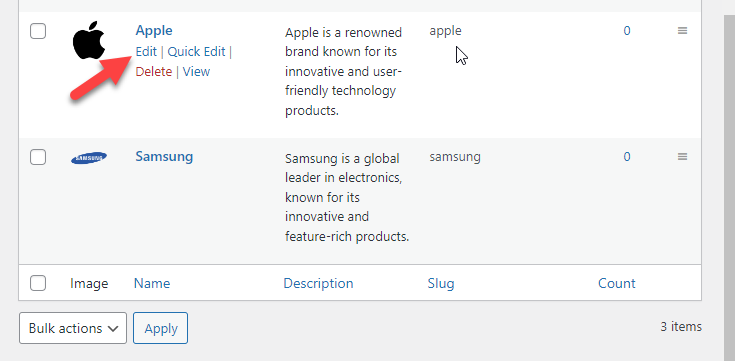
The next thing you need to do after creating brands is assign products to them. To do this, open the product you need to list under a specific brand. Once you have entered the editor, check the right-hand side:
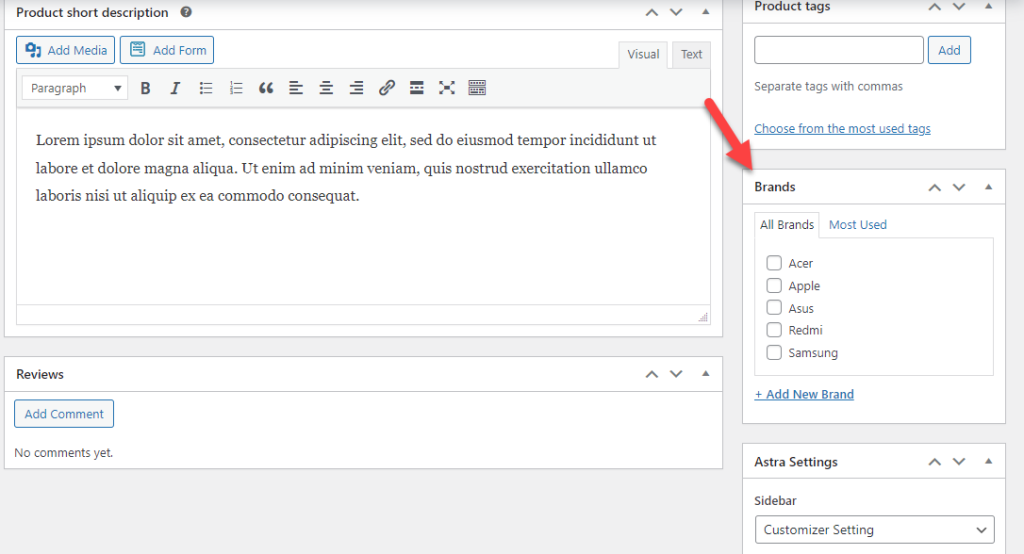
There, you will see all the brands you have created so far. You can select one from the list and update the product.
This way, you could add products under specific brands.
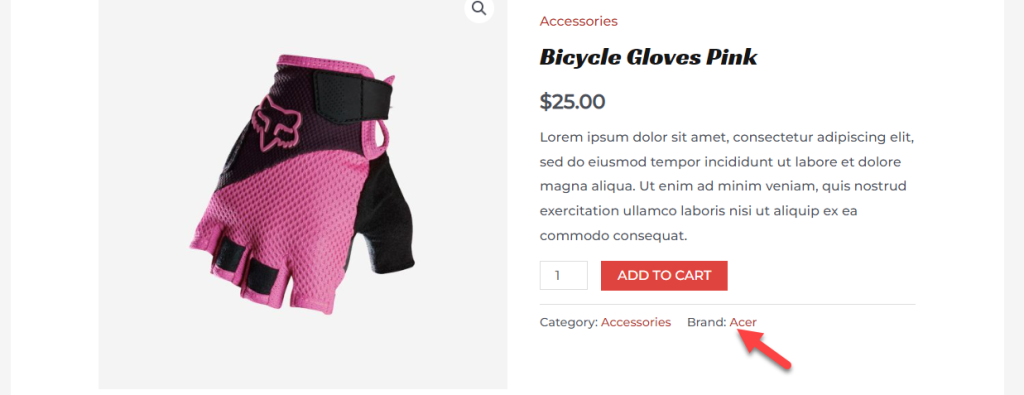
From now on, when your customers visit individual product pages, they will see the brand property too.
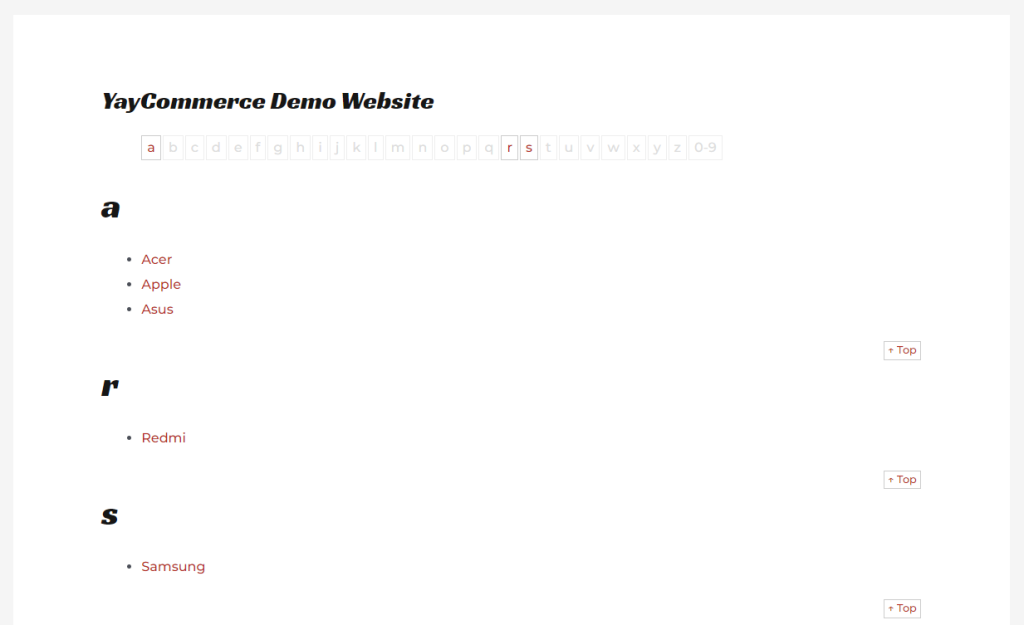
Next, let’s see how we can list all brands available in the store on a single page. All you have to do is use this shortcode:
[product_brand_list show_empty_brands="true"]
In the front end, you will see the result like this:
If you need to display the brand names with the thumbnails, use this shortcode:
[product_brand_thumbnails show_empty="true"]

This way, you could list brands in a dedicated page, post, or custom post type. WooCommerce Brands also allows users to display brands in any widget area.
The following section will show you how to use this feature.
WooCommerce Brands comes with three custom widgets.
- Description
- Thumbnail
- Layered Nav
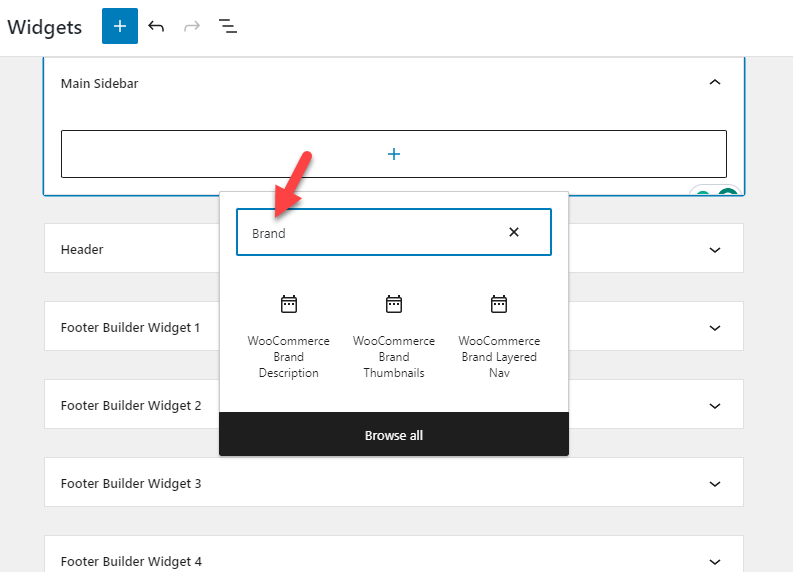
Each widget has its function. For example, if you need to display brands with thumbnails, the WooCommerce Brand Thumbnails widgets are the right option. When visitors check a brand archive, you can load the description with the Brand Description widget.
Finally, the Layered Nav widget will help you display products when checking the products. In our case, we are going to use the thumbnail widget:
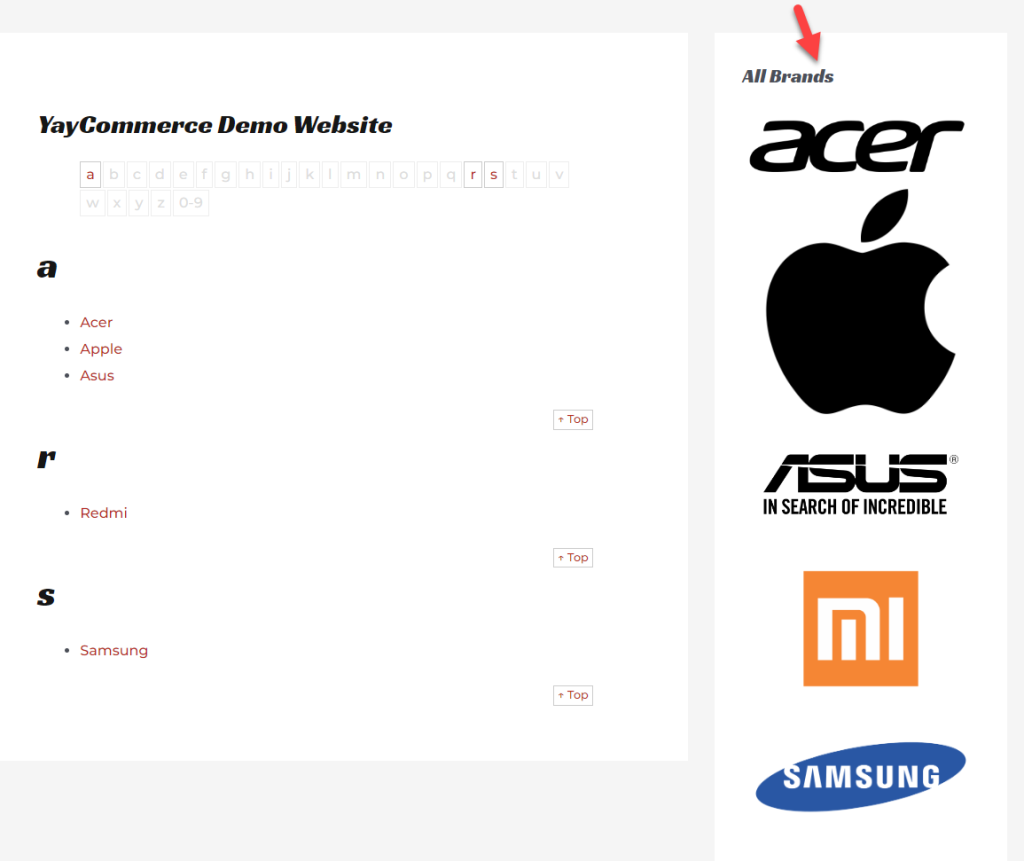
That’s it!
This is how you can create brands for your WooCommerce store. With a powerful plugin like WooCommerce Brands, creating and managing brands in your online store would be a cakewalk.
Bonus: Best WooCommerce Plugins to Create Brands
This section will cover three of the best WooCommerce plugins to create brands inside your store. In a nutshell, they are:
- WooCommerce Brands
- YITH WooCommerce Brands Add-On
- Perfect Brands for WooCommerce
Each tool has its unique features. Below, we will explain what makes each plugin unique. According to your requirement and preferences, you can choose an option.
Without any further ado, let’s get into the list.
1. WooCommerce Brands
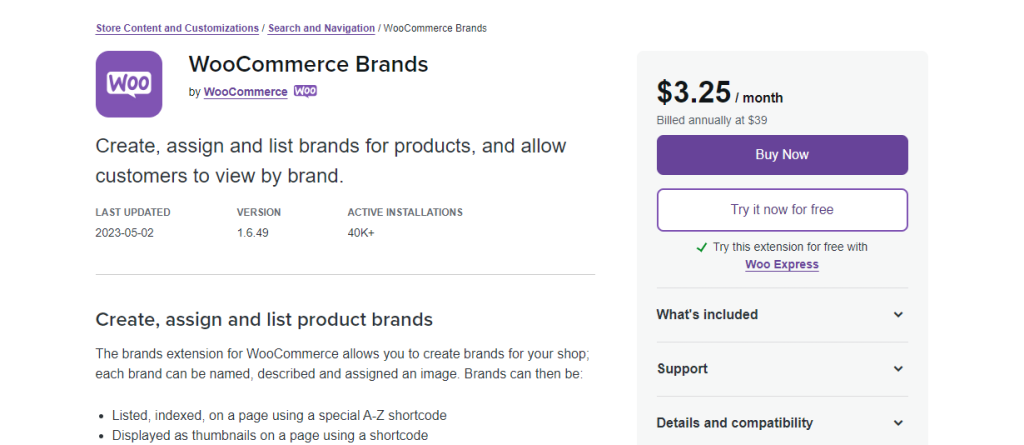
If you prefer using a plugin directly from the WooCommerce guys, try WooCommerce Brands. WooCommerce Brands is a popular plugin; more than 40,000 online stores use it. Since the plugin is created by the same team behind the WooCommerce plugin, you can ensure the tool will be compatible with every extension they have in their store.
Once you have used this product to create brands on your WooCommerce store, you can use widgets or a dedicated shortcode to display them. Creating a dedicated page with every brand you have on your online store would be a feasible idea to bring more attention from customers.
You can create unlimited brands with this tool and assign them to specific products. The shortcodes available in this plugin are highly customizable, and you can tweak them to match them according to your requirement.
Features
- Optimized for performance
- Shortcode ready
- Widgets optimized
- Multiple display rules
- Simple configuration
Pricing
WooCommerce Brands is a complete premium plugin. You can check out the product here.
If you choose the monthly billing option, it will cost you $3.25/month. On the other hand, the annual subscription will charge you $39/year. Both plans are protected with a 30-day money-back guarantee.
2. YITH WooCommerce Brands Add-On
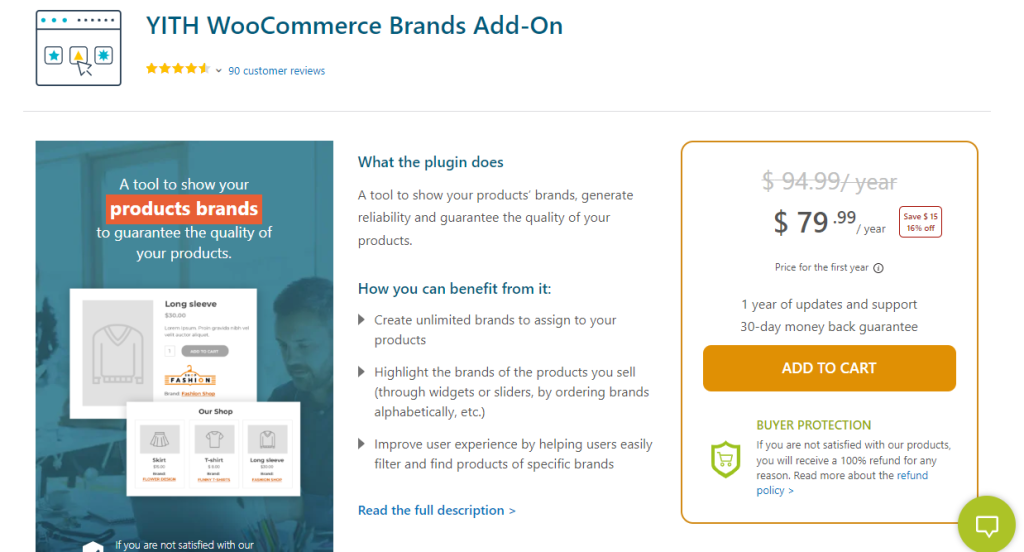
YITH is a famous WooCommerce plugin developer in the market. YITH WooCommerce Brands Add-On is a tool they have developed to help online store owners to create, edit and manage brands efficiently. The plugin allows you to create unlimited brands with various customization options.
The tool will allow users to configure logos for individual brands. If you can’t find the logo of a couple of brands, you can use a sitewide image for the featured image. This way, when a brand has no featured image, the global one would be displayed. You can also show the brands on your products page.
To improve the viewability, there are five widgets you could use to display the brand and nine shortcodes. It is a good plugin if you are looking for a powerful WooCommerce brand plugin.
Features
- Sitewide thumbnail for brands
- Highly customizable
- Multiple shortcodes
- Five widgets
- Integration with other YITH plugins
- Quality code
Pricing
YITH WooCommerce Brands Add-On is a freemium tool. You can see the lite version plugin if you check the plugins repository. The premium version subscription costs $79.99 a year and has more powerful features.
3. Perfect Brands for WooCommerce
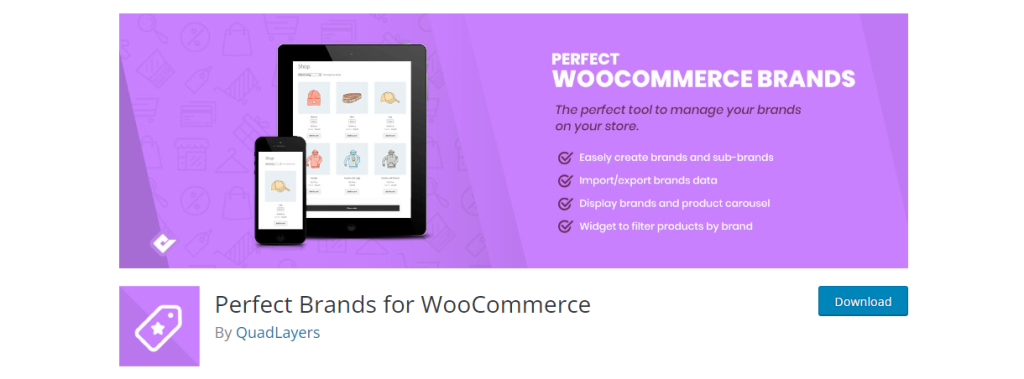
If you need an easy-to-use plugin with minimal configuration options, check out Perfect Brands for WooCommerce. The plugin is 100% compatible with most WordPress page builder plugins such as WPBakery Page Builder (formerly known as Visual Composer), Elementor, SiteOrigin, and Beaver Builder. Also, it is a translation-ready tool.
If you are running a multilingual WooCommerce store by targeting a worldwide audience, you can use Perfect Brands for WooCommerce without causing compatibility issues. There are multiple layouts to choose from, so you can pick a design option according to your preferences.
Finally, the import/export feature will help the store owner to transfer the data between multiple WooCommerce installations. Overall, it is an excellent plugin to create and manage brands in your WooCommerce store.
Features
- Great support team
- Easy to use
- Import/Export
- Custom layouts
- Translation ready
- Optimized for page builders
Pricing
Perfect Brands for WooCommerce is a freemium tool. The free version can be downloaded from the WordPress plugins repository. If you need the premium version plugin, it will cost you $49 (one-time fee).
Conclusion
Creating a WooCommerce store is so simple. But managing it might be a challenging part. You could have a better conversion rate and sales with the right strategies.
This article showed you a step-by-step guide to creating WooCommmerce brands in your store that will help you with more sales. There are a lot of plugins available to do this, so you can try this method and see how it will work for you.
Feel free to go through our blog archive to learn more WordPress/WooCommerce guides that will help you gain more page views and revenue.
We hope you have found this article useful and learned how to create brands for your WooCommerce store.
Which WooCommerce brands plugin are you going to use?
Let us know in the comments.
