Are you a beginner who comes to WordPress with a dream to create and grow a website that reflects your characteristics or your brand orientation? You might get lost and feel a bit confused about what to do first on this platform.
In this article, we’ve pointed out the first 10 things to do after installing WordPress, showing what exactly you should follow to set up the foundation for your WordPress website.
WordPress is a popular platform for building all kinds of websites. Whether you’re building a personal blog, a portfolio, or a business website, WordPress gives you full control to make it unique and appealing.
Let’s jump into the following list of essential setups you should do after installing WordPress.
Table of Contents
10 Important Things to Do After Installing WordPress
1. Configure General Settings
After installing WordPress, you need to add some initial information for your website. From the WordPress dashboard, navigate to General Settings. In this section, you change the site title, tagline, and site icon. You should also set the site address and administration email address. These are the basic setups that generally define your brand identity.
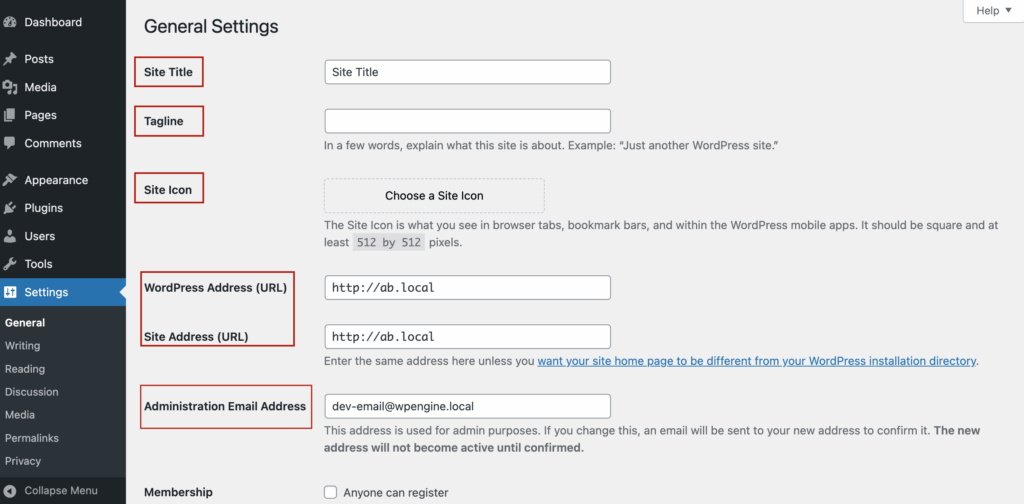
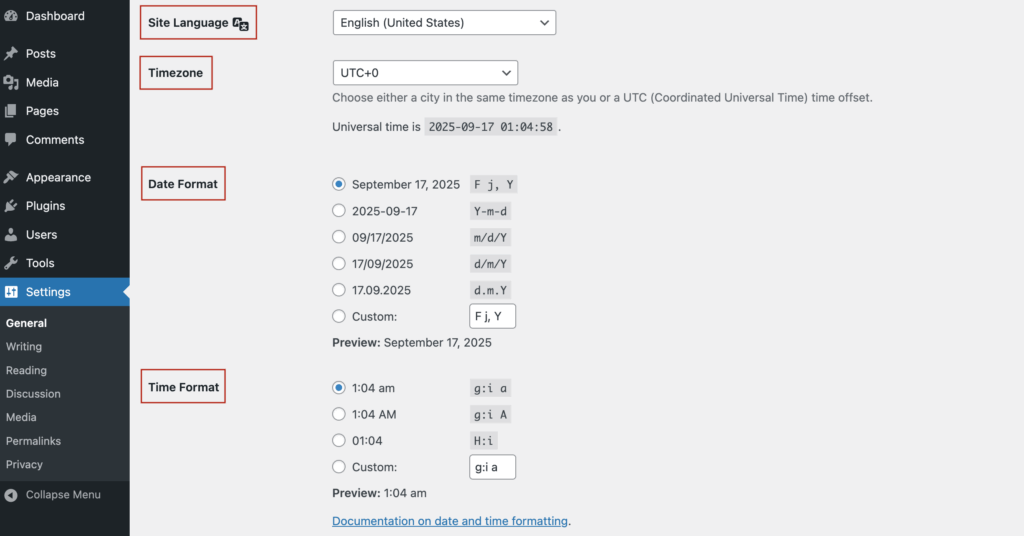
And, you also need to set the language, timezone, date, and time formats. By displaying this clear information on your site, you can connect better with your audience.
2. Configure Reading Settings
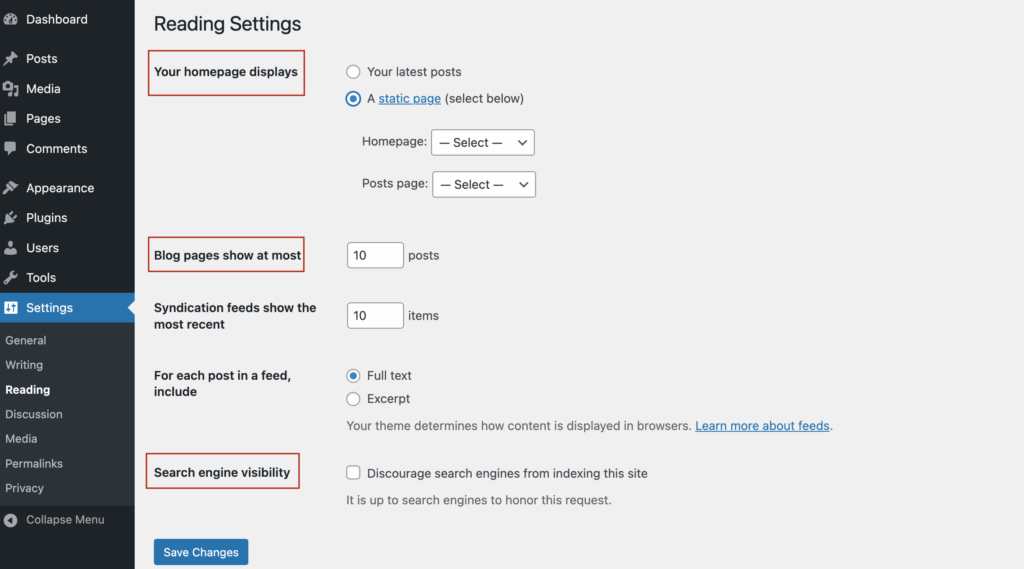
Next, “Reading Settings” manages how the content will appear on your visitor’s site. Setting a static page, then you can choose either to display the latest posts or a specific WordPress page as a homepage when a guest visits your site.
You can also customize the number of posts shown on a page, and the option “Discourage search engines from indexing your site” is to prevent Google and other search engines from listing your site in search results. Make sure not to enable this option if you want your site to be indexed and highly ranked in Google search results.
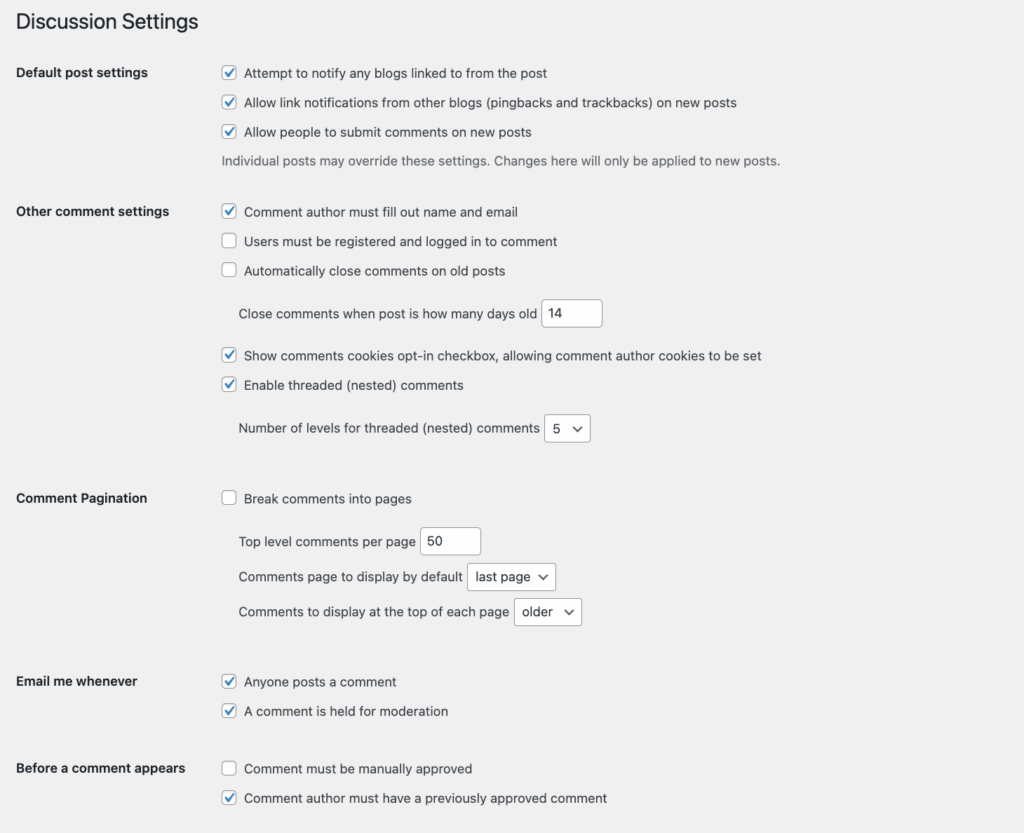
3. Set Up the Discussion Section
Now, let’s control how people interact with your site. Go to the “Discussion Settings” section in your WordPress dashboard. This is where you control how comments are handled across your site. You can decide whether to allow comments, choose who can post them, and set whether they need to be manually approved. These settings give you full control over what appears on your site, helping you prevent spam or offensive content and maintain your website’s credibility and user trust.
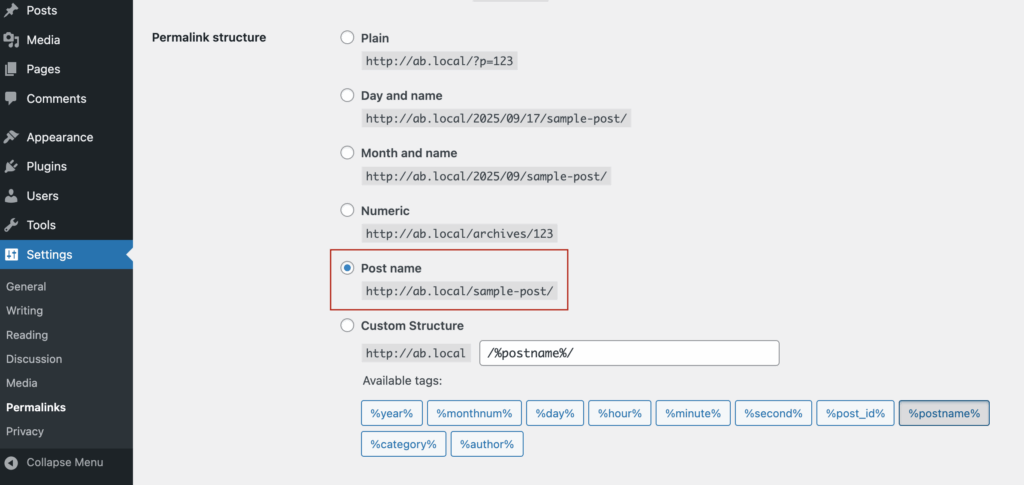
4. Configure Permalink Settings
Another important thing to do after installing WordPress is to set the Permalink. Whenever someone accesses your site, each page or post has a unique permalink. A well-structured permalink not only makes your website look more professional but also improves the SEO performance through the descriptive keyword displayed on the URL. In Permalink Settings, WordPress provides some predefined URL structures from which you can choose. We recommend using “Post name” structure: http://site-test-filebird.local/sample-post/ to showcase the keyword of your content that helps to describe what the page is about clearly; or you can adjust the permalink structure with “Custom Structure” by adding available tags.
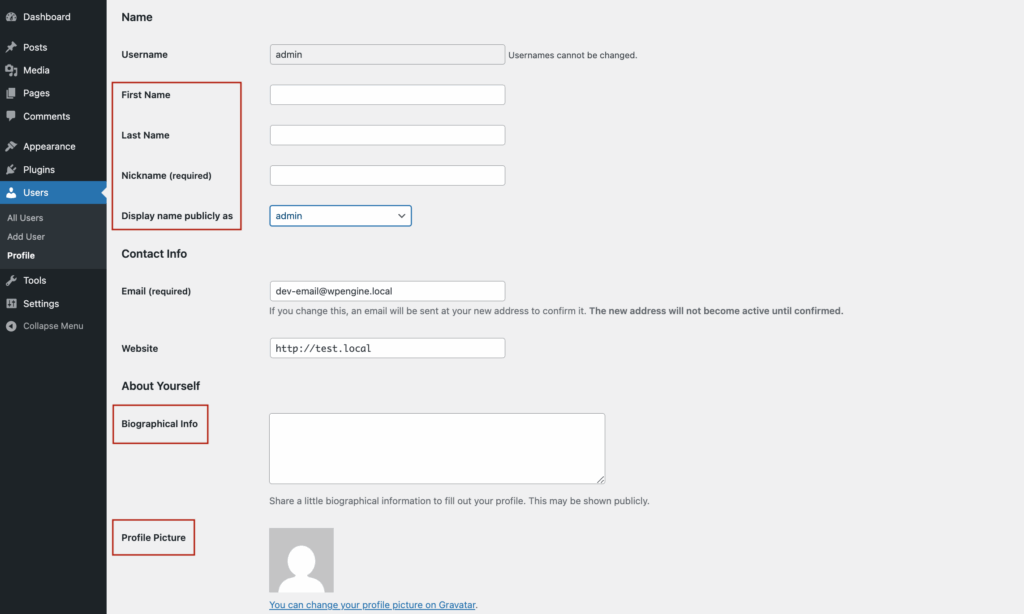
5. Edit the User Profile
In this setting, you can add the display name, biographical infor, and profile picture. This personal information is displayed whenever you update any blog post or leave comments. WordPress uses Gravatar to upload your profile avatar. After updating your picture, WordPress will automatically sync it across your site.
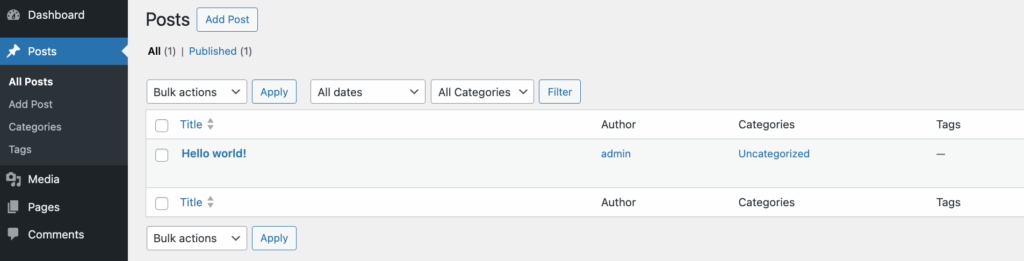
6. Delete the Default Content
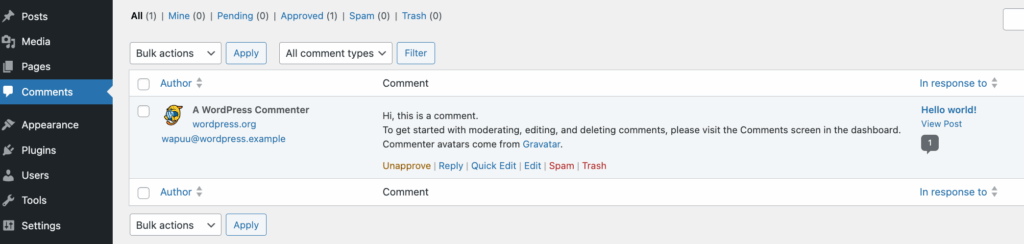
When you first install WordPress, WordPress includes the sample post, page, and comment; delete this default content before you start building your whole website, helping your site stay clean from the start.
- Sample post:

- Sample page:
- Default comment:
7. Install and Activate a WordPress theme
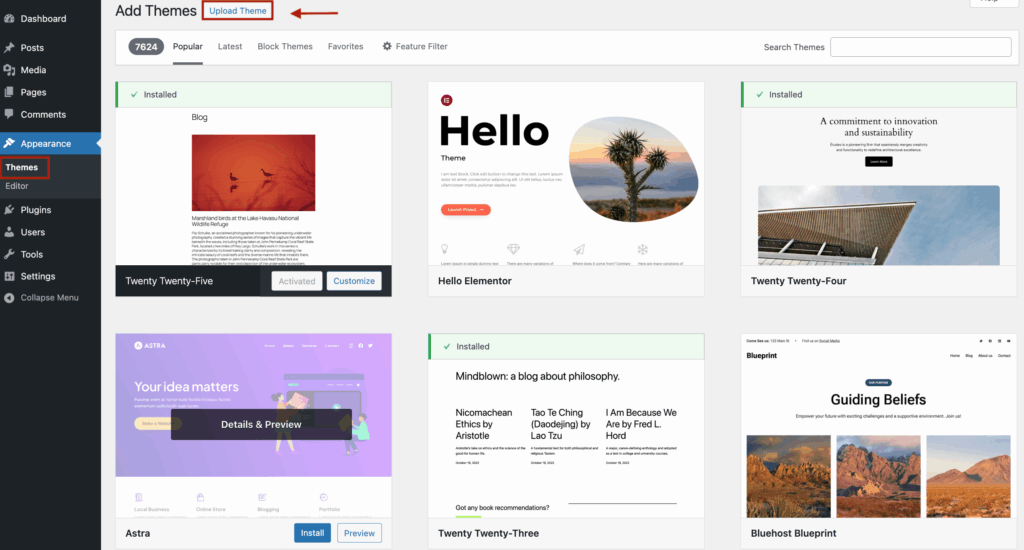
After going through the basic setups above, your website is basically established with the necessary information. Now, it’s time to give your site a set of clothes. WordPress offers a vast variety of stunning, functional themes. These themes come with beautifully pre-designed templates, customizable options, and an SEO-friendly drag-and-drop interface that lets you easily build and customize your own website.
To select a WordPress theme, click on Appearance > Themes; you can upload or choose the preferred one from the WordPress Theme Directory. Then, start customizing every corner of your website effortlessly.
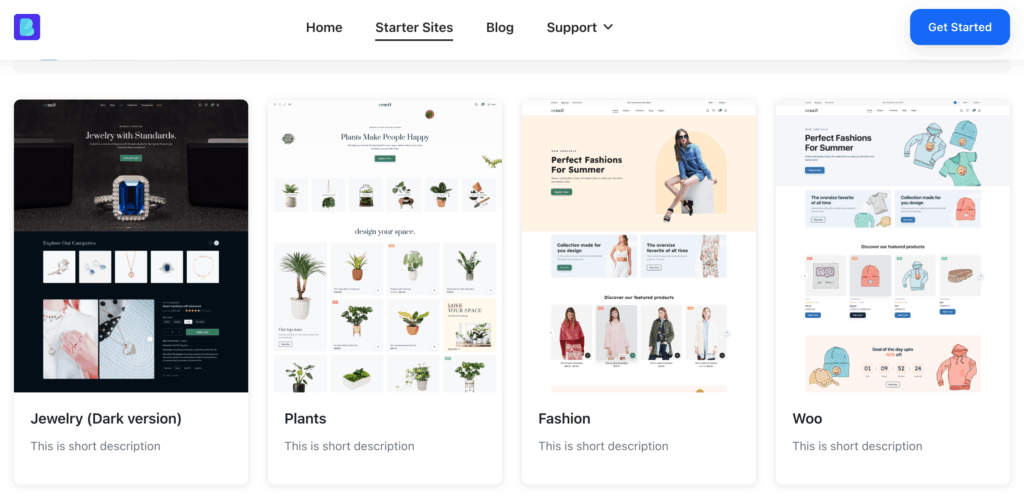
If you are dreaming of building a comprehensive WooCommerce store on WordPress. We highly recommend using Brandy – a free WooCommerce theme.
Brandy is a reliable and powerful theme for any kind of e-commerce business. Brandy comes along with two powerful sub-plugins: Brandy Starter Sites and Brandy Blocks. Brandy Starter Sites offers a library of professionally designed demo templates for WooCommerce stores, while Brandy Blocks empowers you with pre-made blocks and stunning patterns tailored for e-commerce, such as pricing plans, testimonials, a countdown, products with banners, Google Map, relative posts, and more. Once installed, you can craft your online store with ease.
8. Download SEO Plugins
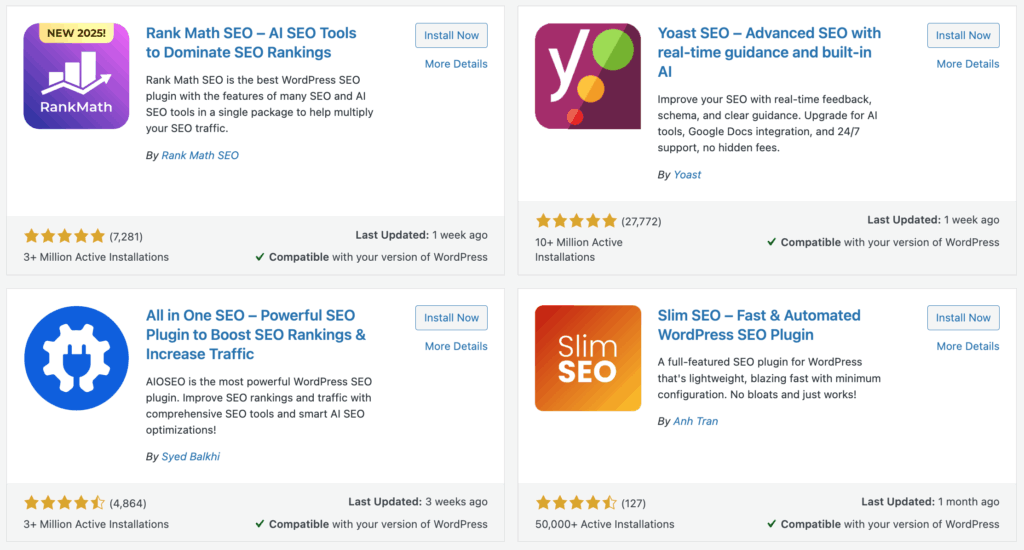
As you expect your website to reach more people, optimizing the content for search engines is one of the important things to do after installing WordPress. The WordPress SEO plugins give practical suggestions to help increase website visibility, drive more traffic, and rank your website higher on search engines.
Some highly-trusted SEO plugins you could try: Yoast SEO, Rank Maths, All-in-one SEO, and more. To install these plugins, click on “Plugins” from the WordPress dashboard, then choose “Add plugin”.
9. Set Up a Backup Plugin
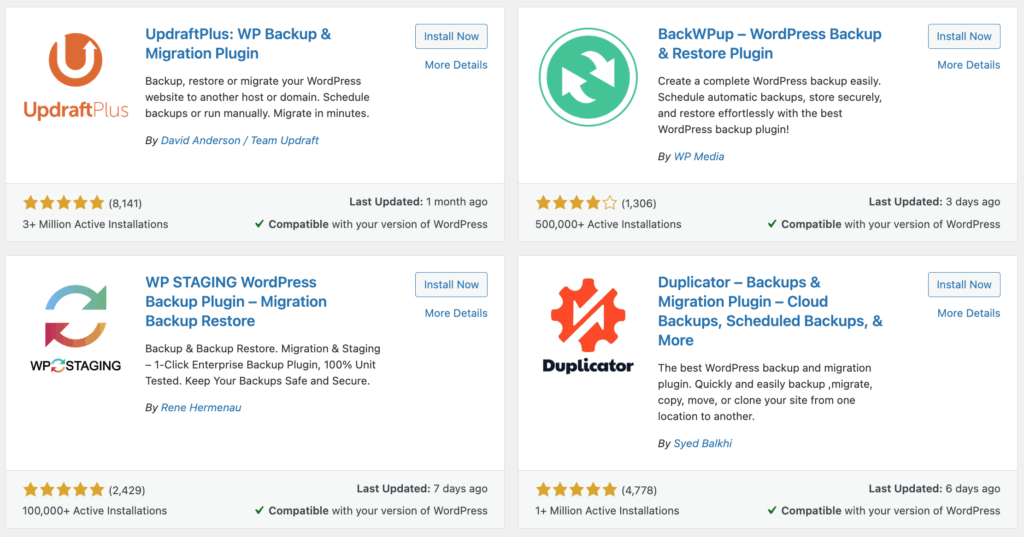
In case of losing data on your website due to unexpected situations, such as accidental deletions, failed updates, or server issues, WordPress Backup plugins are the best solution to quickly and safely preserve and restore your website data.
Once you have installed WordPress, it’s essential to download a backup plugin to ensure your database is backed up properly. Here are some of the best recommendations: BackWPup, UpdraftPlus, and Duplicator.
10. Install the Google Analytics
One critical setup not to overlook after installing WordPress is setting up Google Analytics.
It allows you to understand user behavior, measure the content marketing performance, and track conversion rates. These are all essential metrics for optimizing your website and driving growth.
Through real-time tracking, you can quickly respond to user trends and optimize strategies, ultimately increasing brand visibility on Google search or other search engines. The most recommended plugins are: MonsterInsights and Site Kit by Google.

Bonus Tip: Manage your media library on WordPress
Controlling your WordPress media files right from the start is crucial, as it can help you save time managing your huge WordPress media library in the long term. There are numerous plugins for managing media files; one effective WordPress media folders plugin we recommend is CatFolders.
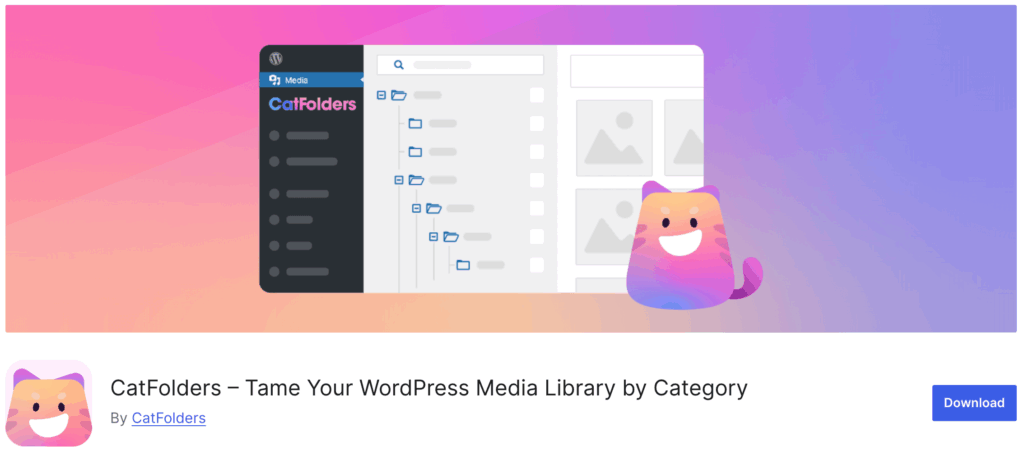
CatFolders is powerful for organizing and managing a vast stock of images neatly into folders. This plugin helps you manage the WordPress media library under a tree structure. You can create multiple parent folders and subfolders, then easily sort and categorize the media files in specific folders.
How convenient it is when you don’t need to wrestle with the vast library of media files just to find an image.
CatFolders supports managing all WordPress file types, such as documents, images, audio, videos, graphics, ebooks, and more.
The amazing things about CatFolders that impress me are the Bulk Select, Search, and Drag-and-Drop features, which can help to save a lot of time and effort in organizing and managing the media files.
A well-organized media library on the WordPress backend saves time and reduces frustration as your site grows. That’s why you need to use some WordPress plugins like CatFolders at the beginning of building your website. Get CatFolders today to streamline your workflow and keep your media library clean and accessible over time.
Conclusion
Walking through this article, you could feel confident about knowing exactly what to do after WordPress installation.
Completing the first things to do after installing WordPress not only saves you time but also helps build a strong foundation for a fast, secure, and user-friendly website.
By taking these steps early, you’ll ensure your site runs smoothly and aligns with your goals right from the start.
FAQs
- What is the difference between the WordPress and the Shopify platforms?
WordPress and Shopify are two of the leading platforms for creating websites. The main difference between them is that WordPress is a highly flexible, open-source platform that allows you to build any type of website and customize every part of the site, while Shopify is a fully hosted, all-in-one eCommerce solution tailored specifically for online stores; however, it offers less customization.
- Can I personalize my WordPress website?
Of course, you can easily customize your website appearance with pre-designed WordPress themes or popular WordPress Page Builders, such as Elementor, WPBakery, Beaver Builder, and more.
- Do I need to know coding when working on the WordPress backend?
Basically, it’s not; you don’t need to know about coding or programming when you want to create a personalized website on WordPress. A wide range of powerful plugins is available in WordPress that offer intuitive, easy-to-use features, helping users streamline their jobs on WordPress. Therefore, even if you don’t have any coding experience, you can still build an entire unique website, styling it in the way you wish.
- How do I add a contact form to my site?
You can use a WordPress plugin like WPForms or Contact Form 7 Multi-Step to create and customize a Contact Form for your site.