Do you want to use OAuth 2.0 authentication in WordPress? This article provides a simple guide.
This is the best guide for turning your WordPress blog or WooCommerce store into an OAuth 2.0 server. By enabling this authentication, you can use your WordPress credentials to access third-party services such as Zapier, Salesforce, Rocket Chat, and so on.
You won’t be able to use this function if you haven’t configured this.
So, to help you with the SSO feature, we have created this guide. Here, we will show you everything you need to know about
- OAuth 2.0 authentication
- Which third-party services support this
- How to configure this function
First, let’s see what OAuth authentication is.
Table of Contents
What’s OAuth 2.0 in WordPress
OAuth 2.0 is an authorization framework that enables applications to obtain limited access to user accounts on an HTTP service.
In WordPress, OAuth 2.0 can enhance security and user experience when integrating external services or developing plugins that need to interact with user data from other services. Here’s how it typically works within the WordPress ecosystem:
- User Consent
- Token Exchange
- Scalability and Flexibility
- Security Considerations
Now you know what OAuth is in WordPress and how it helps. The next section will show you how to configure this feature on your website.
How to Configure OAuth 2.0 in WordPress
To use this feature, you must use a WP OAuth Server plugin.
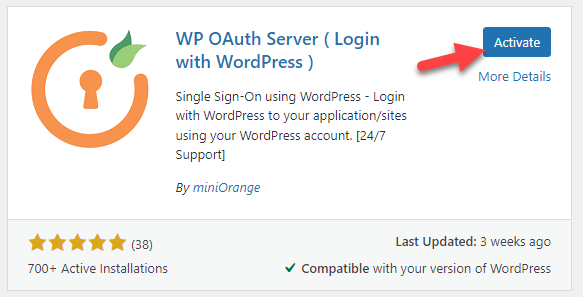
First, install and activate this plugin on your WordPress website.
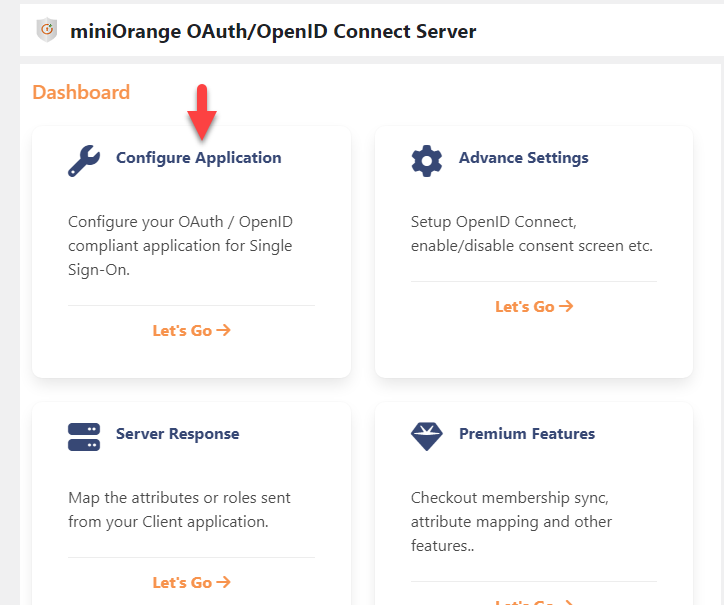
Now, on the left-hand side, you will see the plugin’s settings.
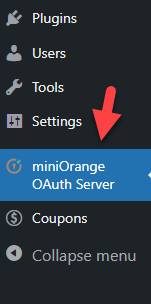
There, you will see multiple configuration options.
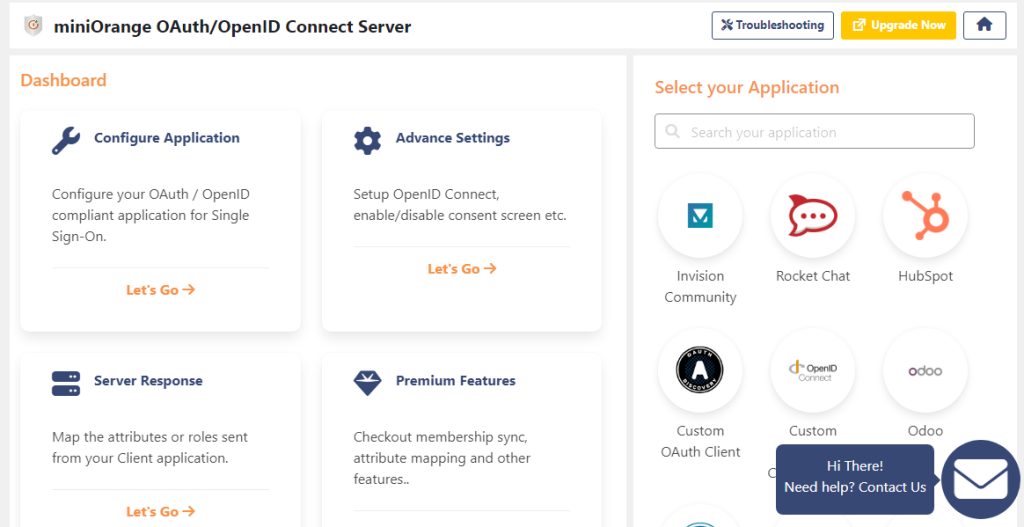
The first thing you need to do is go to the configure application option.
On the next screen, you can choose the application and configure it.
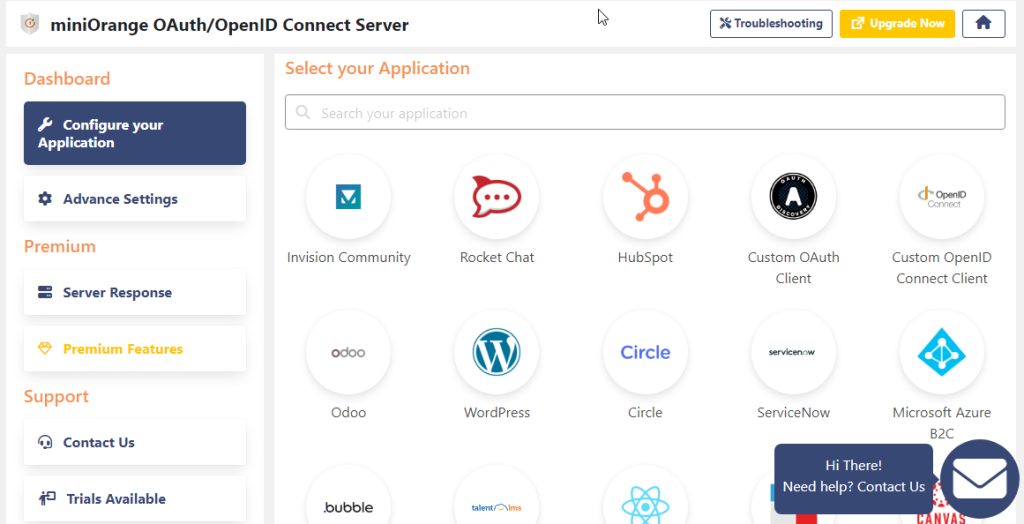
You will see several applications like:
- Invision Community
- Rocket Chat
- HubSpot
- WordPress
- Odoo
And so on.
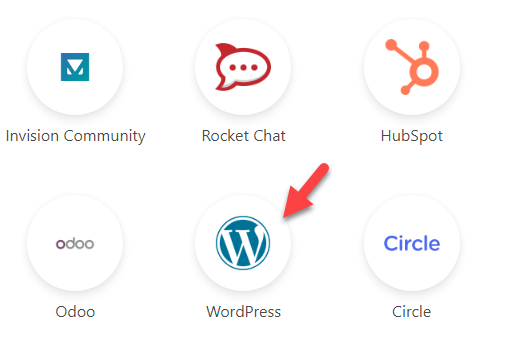
From this list, we will choose WordPress.
Now, you will be redirected to the WordPress client configuration page.
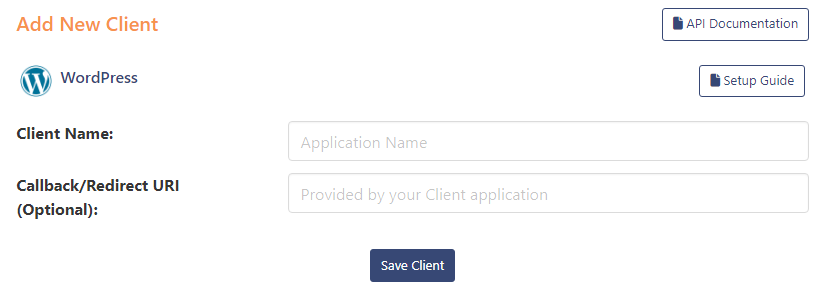
There, you need to enter the
- Application name
- Callback URL
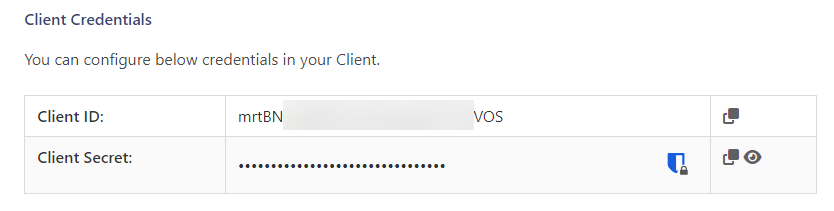
The application name is something you use to identify. The callback URL is optional. Once you have saved the option, you can see the client credentials.
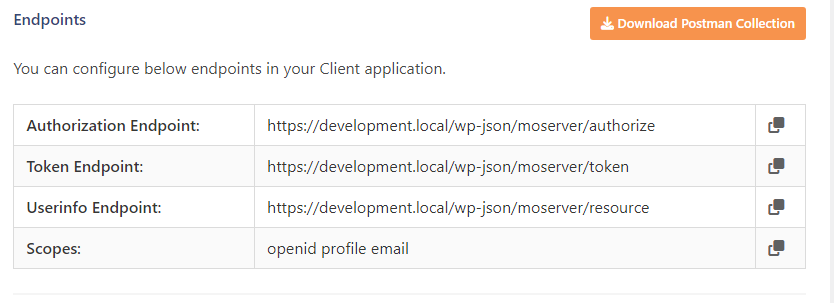
If you scroll down, you can see the endpoints too.
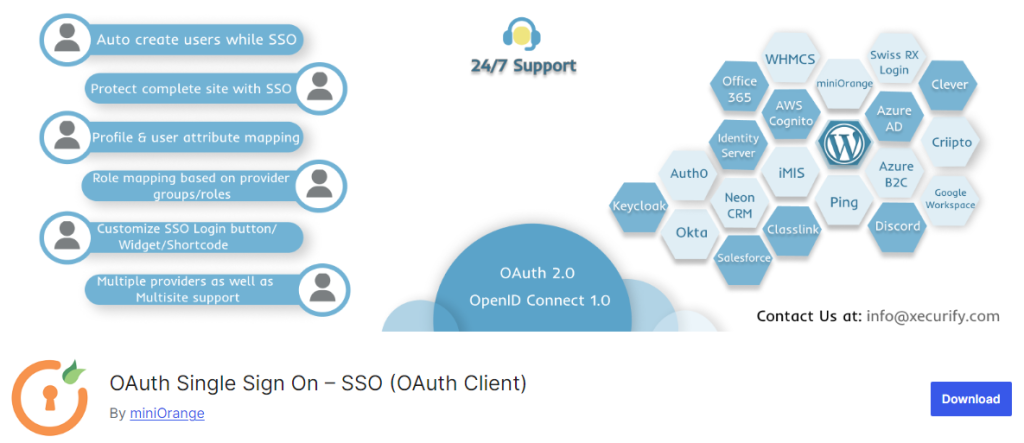
You have successfully configured the OAuth server. The next step is to configure the client. You must use this plugin: OAuth Single Sign On – SSO (OAuth Client).
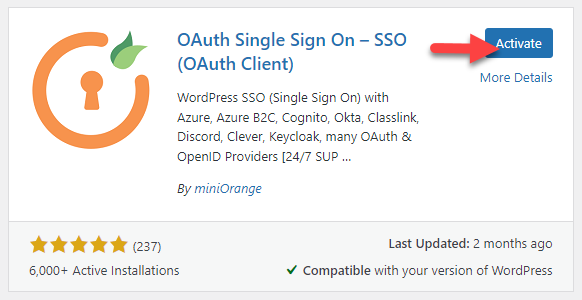
After installation, activate this on the website.
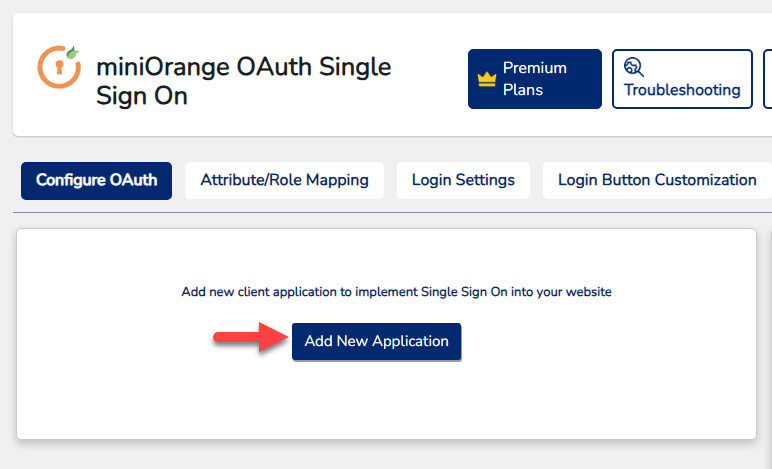
Inside the plugin settings, click the add new application button.
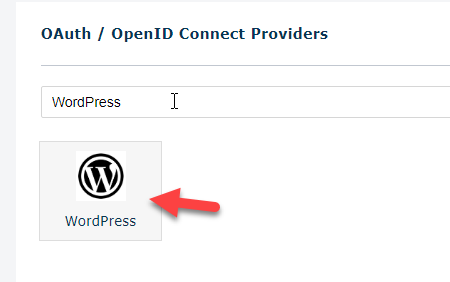
Now, choose the provider.
On the next screen, you will see the configuration options.
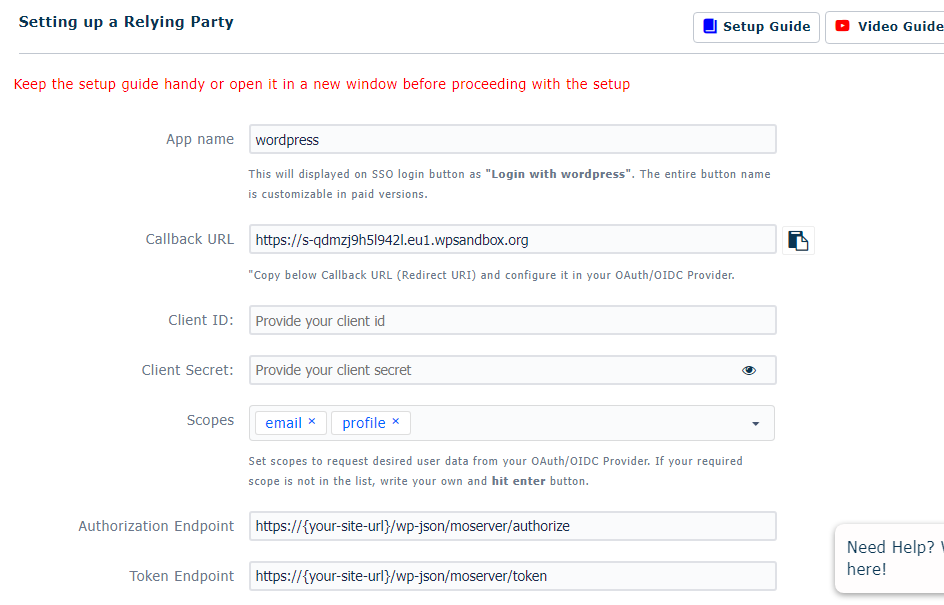
The main options available are:
- App name
- Callback URL
- Client ID
- Client Secret
- Scopes
- Endpoints
And so on.
After filling in these details, verify the information.
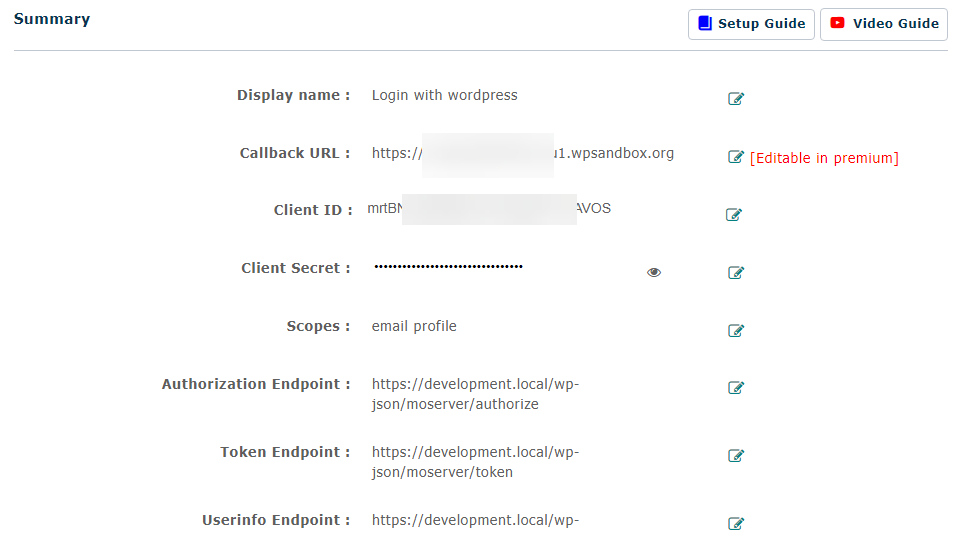
After verifying the details, finish the configuration. A pop-up will now appear. You need to accept it.
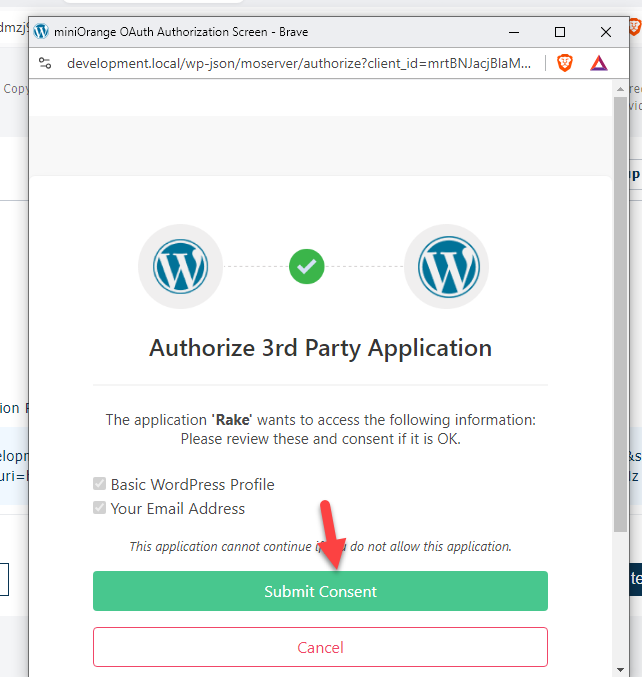
You have successfully configured the OAuth feature in WordPress. This function can provide users with single sign-on (SSO).
That’s it!
This is how you can configure OAuth 2.0 in WordPress. As this tutorial shows, the process is simple with a plugin like MiniOrange.
Conclusion
OAuth is an excellent feature for enhancing the sign-on feature of your WordPress website. With minimal configuration options, you can choose WordPress as an OAuth server and client and provide an SSO option.
As you can see in this blog post, the configuration options are simple, and you do not need to have any technical knowledge. The easy-to-follow guide will help you install OAuth 2.0 in WordPress with minimal effort.
Would you add this function to your WordPress blog or WooCommerce store?
Or what other security functions would you add to your website?