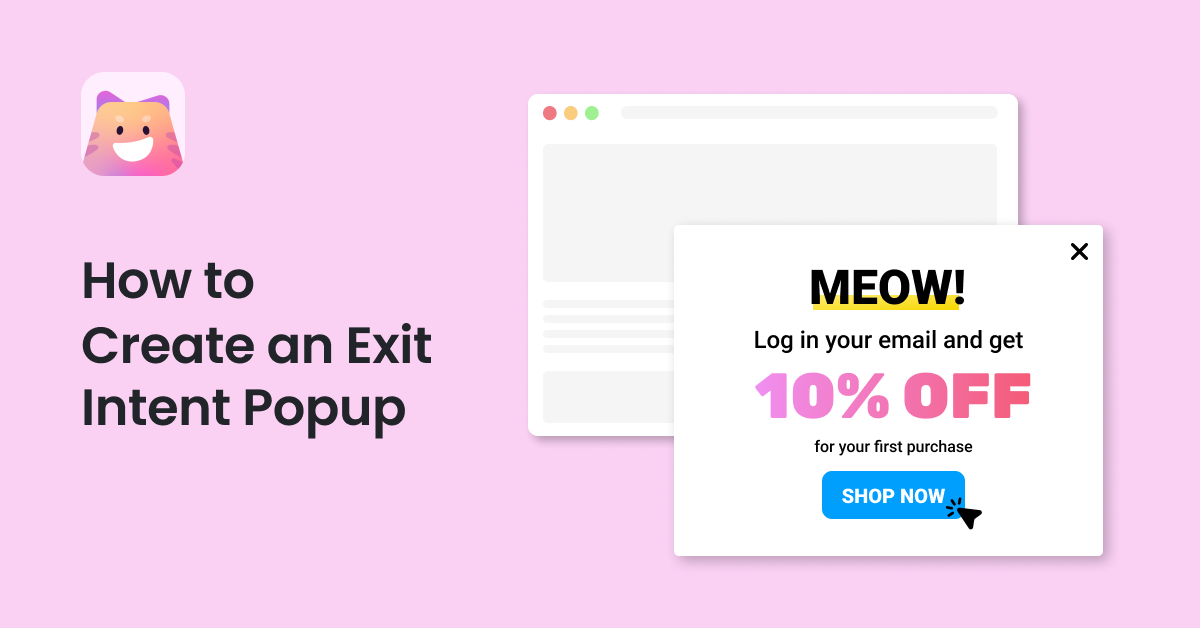
Do you want to create an exit intent popup in WordPress? If so, keep reading this article for the best tutorial.
When you run an online store, you should get customers to pay you for the products or services. However, some customers may not feel like purchasing the product and will leave the website.
By default, there is no way to prevent the customer from leaving the website so that you can say goodbye to revenue.
However, you could attract returning visitors with the help of an exit intent popup. This is easier than it sounds. So, if you run an online store and need to improve your revenue, keep reading this article.
Here, we will show you how to create an exit intent popup in WordPress and a few tips for boosting your website’s conversion rates.
But first, let’s see why you should add an exit intent popup on your website.
Table of Contents
Why Do You Need an Exit Intent Popup
An exit intent popup is a powerful tool that can significantly increase user engagement and conversions on your website. Here’s why you might need one:
- Reduce Bounce Rate: An exit intent popup can help lower your website’s bounce rate by offering visitors a reason to stay or return. This could be through a discount, free resource, or a newsletter subscription.
- Increase Email List: Exit intent popups effectively capture email addresses and grow your email list. You can convert a visitor into a subscriber by offering something valuable in exchange for an email.
- Boost Conversions: Exit intent popups can offer discounts, free shipping, or other incentives to encourage visitors to complete a purchase or take a desired action.
- Personalize User Experience: Exit intent popups can be tailored to the user’s behavior or the specific page they’re on, providing a more personalized experience.
- Recover Abandoned Carts: For eCommerce sites, an exit intent popup can be triggered when a user is about to abandon their shopping cart, offering a discount or free shipping to encourage them to complete the purchase.
Now you know why you should create an exit intent popup on your website. In the next section, we will show you what to add.
What to Add In an Exit Intent Popup
To make the most of this opportunity, consider including the following elements:
- Clear Value Proposition: Communicate the value your visitor will receive by staying or taking the desired action. This could be a discount, free resource, or exclusive content.
- Compelling Headline: Use a headline that grabs attention and clearly states the benefit of staying or taking the desired action.
- Eye-Catching Design: Choose a design that stands out from the rest of your website. This could include vibrant colors, images, or animations.
- Concise Copy: Keep the copy simple and to the point. Focus on the benefits and use persuasive language to encourage action.
- Clear Call-to-Action (CTA): Use a clear and prominent CTA button that stands out from the rest of the popup. Ensure the CTA clearly states what action you want the visitor to take.
The following section will move to the article’s core, showing you how to create an exit intent popup in WordPress.
How to Create an Exit Intent Popup in WordPress
Several plugins are available to create an exit intent popup in WordPress. Some of the popular ones are:
- OptiMonk
- OptinMonster
- Thrive Leads
- Popup Builder
- Poptin
- Icegram
- Ninja Popups
For this tutorial, we will use the OptiMonk WordPress plugin.
First, you must install and activate OptiMonk on your WordPress website or WooCommerce store. Once you have completed the activation, you will be redirected to the plugin’s dashboard.
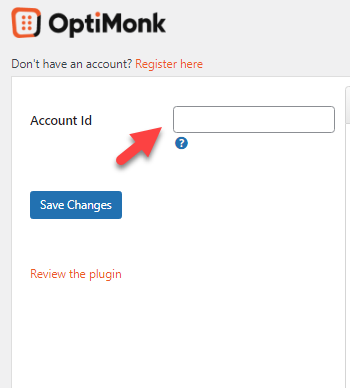
As you can see in the screenshot above, you should enter your account ID there. If you do not have an OptiMonk account, you can create one and gather the ID from there. If you already have an account with them, simply login to your OptiMonk account and get the ID.
Once you have gathered the ID, paste it in the box and save the changes. If you’re a new user, follow these steps. Once you log in to the OptiMonk account, click Get Started.
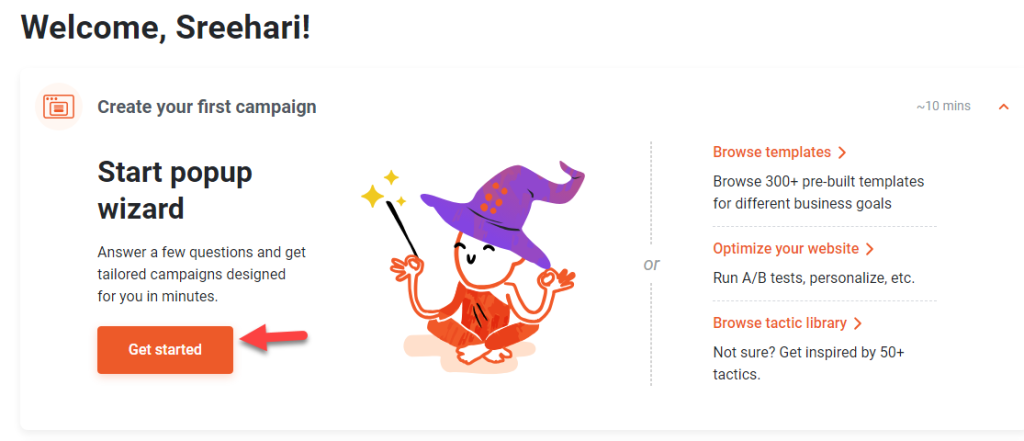
Now, you have to choose a goal for your popups.
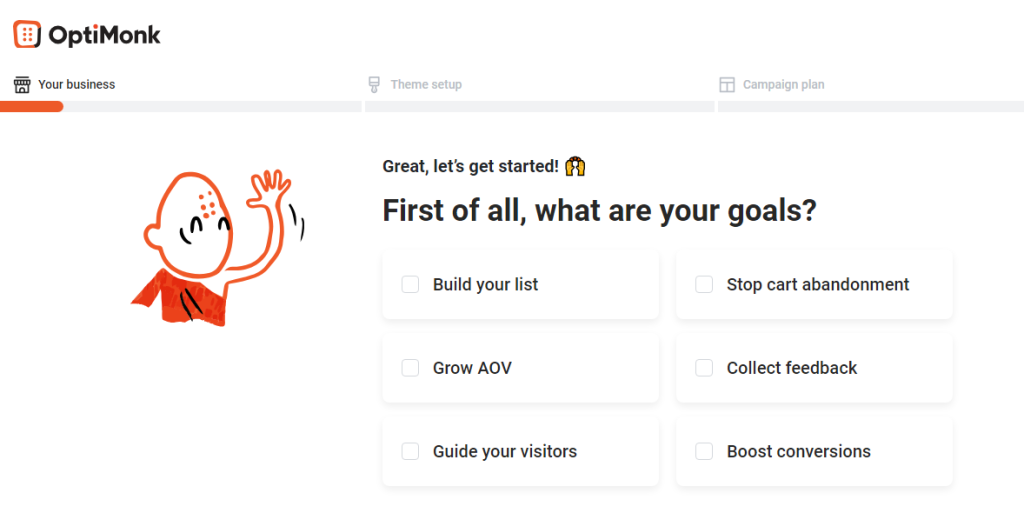
In this case, we will choose the stop cart abandonment option. Next, choose what type of list you will build.
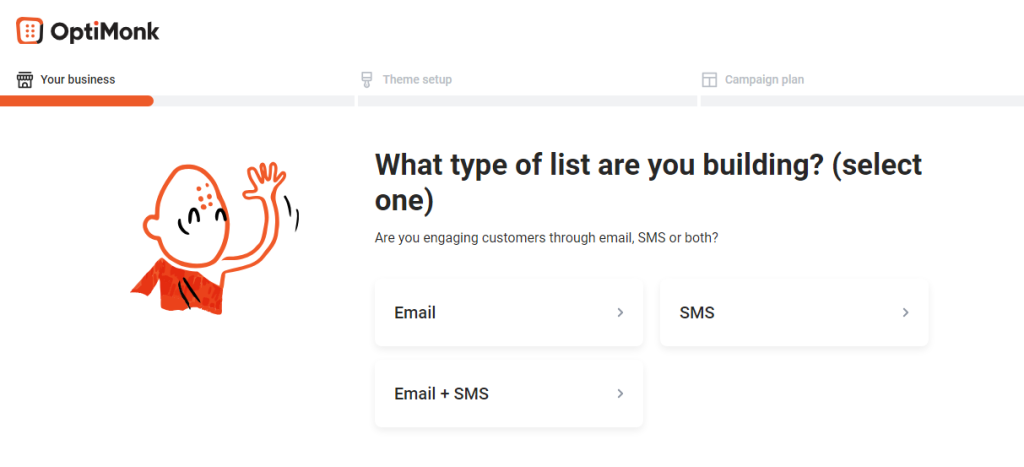
We will pick email. Once you finish that, you must choose the color for the popups.
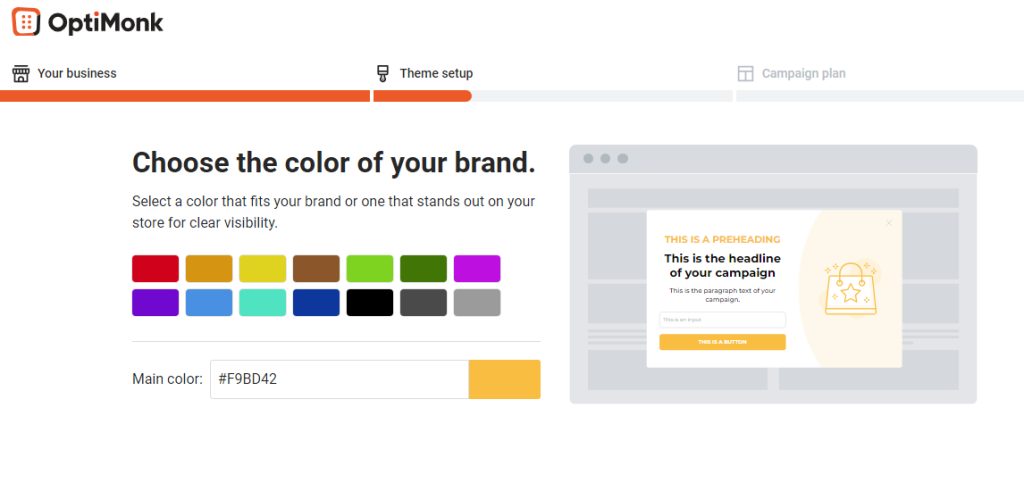
You can pick a color from there and move to the next step. Now, you have to choose email templates for your popup.
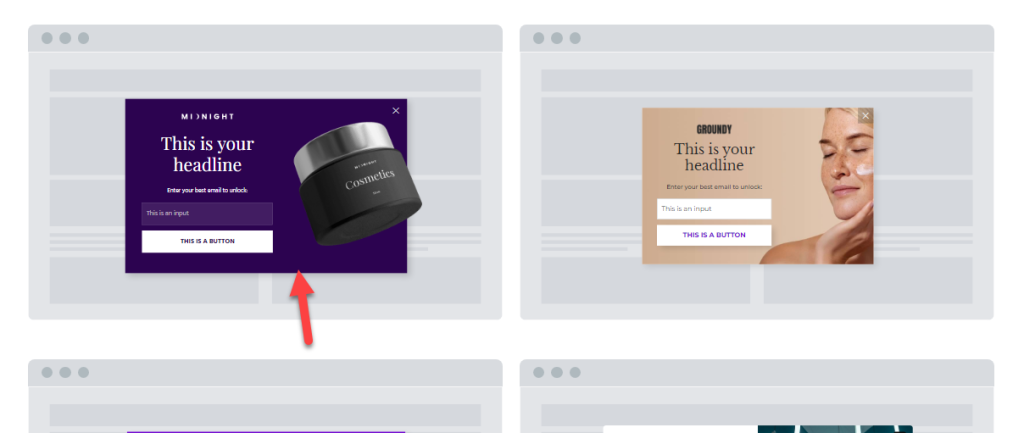
Finally, customize your optin as you need.
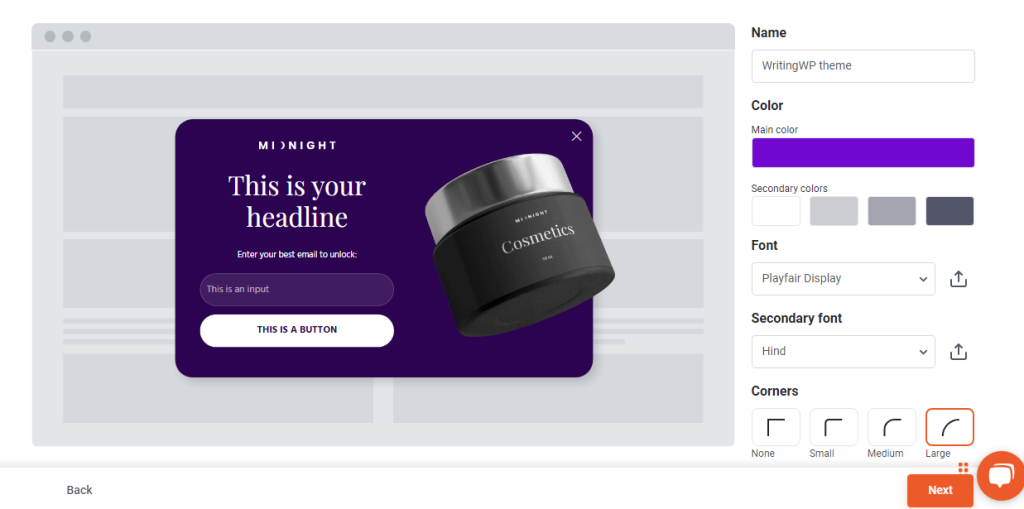
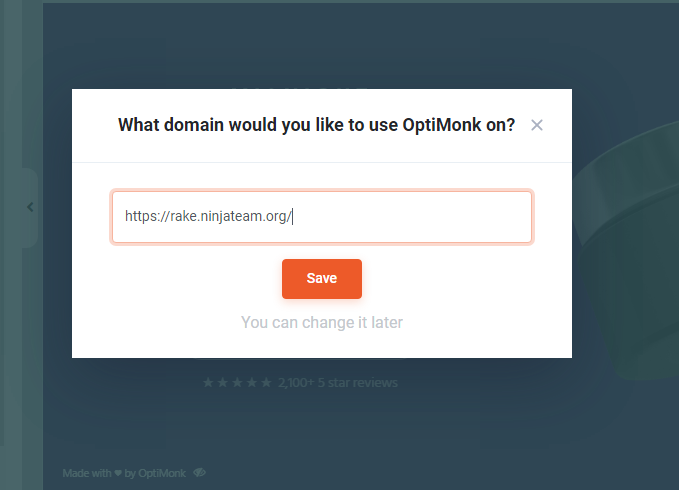
Enter the domain name of the website you plan to use the OptiMonk popups.
Now, you will be redirected to the popup editor.
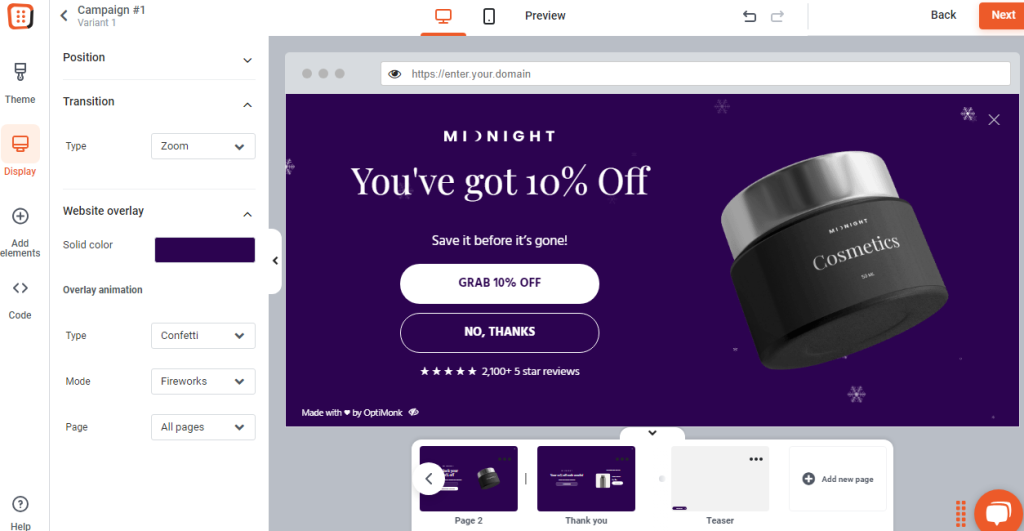
From there, you can customize every inch of your popup. Move to the final stage after tweaking the popup according to your preferences. After that, you can choose the display rules.
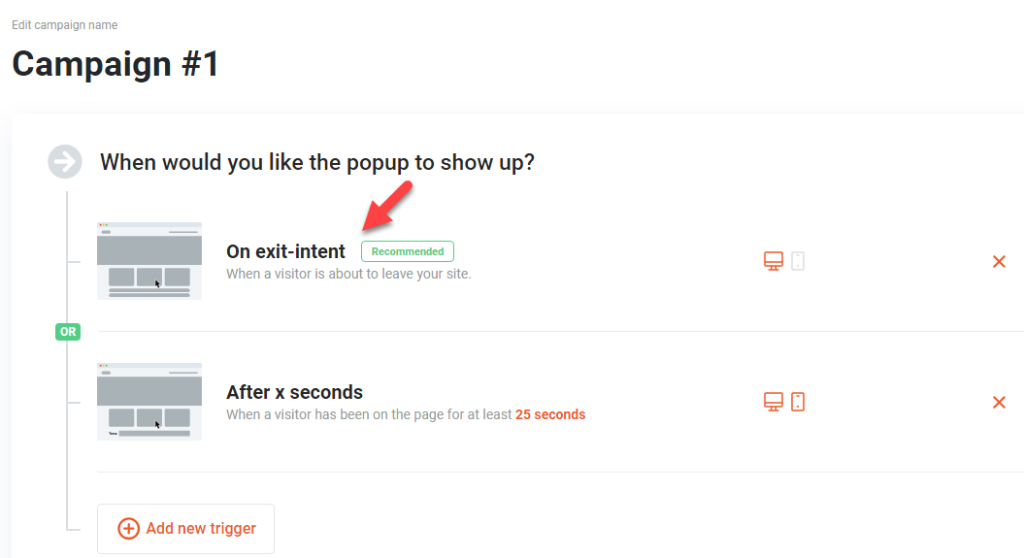
Ensure you have selected exit intent from there. After that, activate the campaign.

Now, you can go to the website and check it from the front end. When you drag your mouse pointer to close the tab, you will see the popup.
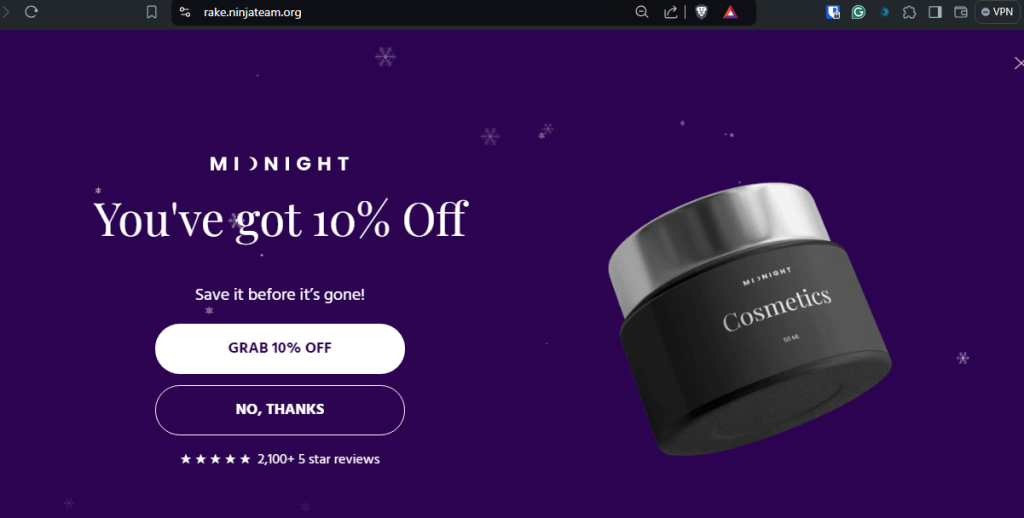
That’s it!
This is how you can create an exit intent popup in WordPress.
Bonus: Best Tips to Maximize the Conversion Rates
Maximizing conversion rates is crucial for the success of any online store. Here are some of the best tips to help you achieve this:
- Urgency or Scarcity: Create a sense of urgency or scarcity to encourage immediate action. This could be through a countdown timer, limited-time offer, or limited-quantity message.
- Social Proof: Include social proof, such as testimonials or customer reviews, to build trust and credibility.
- Immediate Site Popups vs. Exit Intent Popups: While immediate site popups convert at 1.9%, exit intent popups convert at 8%. Use exit intent popups to capture visitors right before they leave your site.
- Reduce Cart Abandonment: Use exit intent popups to target people before they abandon their cart. Offer a discount or free shipping to help visitors make their decision.
- Mobile Optimization: Ensure your exit intent popup is optimized for mobile devices, as a significant portion of your audience will likely be viewing your site on a mobile device.
- A/B Testing: Continuously optimize your exit intent popup to improve its effectiveness. This could include testing different headlines, copy, designs, or CTAs.
- Compliance with Laws and Regulations: To avoid legal issues, ensure your exit intent popup complies with relevant laws and regulations, such as GDPR or CCPA.
- Personalization: You can personalize your exit intent popup based on the visitor’s behavior or the specific page they’re on, providing a more relevant and engaging experience.
Conclusion
Creating an exit intent popup is a powerful strategy for online stores looking to boost conversions and reduce cart abandonment.
By targeting visitors right before they leave your site, you can offer incentives like discounts or free shipping to encourage them to complete their purchases.
This helps increase sales and improves the overall user experience by providing value and addressing potential concerns. Exit intent popups effectively capture visitors’ attention and persuade them to take action.
With the right design, copy, and offer, these popups can convert at an 8% or higher rate, significantly higher than immediate site popups. This makes them a valuable tool for online stores looking to optimize conversion rates and drive revenue growth.
Do you know any other method you can use to boost the conversion rates and reduce cart abandonment?
Let us know in the comments.
